Vampire Kit Instructions
Instructions to the Vampire Kit
Before You Start: Your makeup should be applied in a clean, well lit area. Give yourself plenty of room and arrange your materials neatly in front of you. If you are doing the makeup on yourself, make sure you have an amply sized, well lit mirror. Wear old clothes–makeup can get messy! Makeup should always be applied to clean skin.
Time Needed: 30-45 minutes
Please Note: If you have any known allergies to any of the listed ingredients of any of the components of this kit, do not use that component. Select a shade or item from your dealer’s stock that will give you a similar effect or serve a similar purpose but does not contain the ingredient to which you react. If any of the products contained in this kit cause discomfort, remove as instructed and discontinue use.
As you are laying out your make-up as suggested above, be sure you have all of the items listed on the front label panel under “Complete Kit Contains.” Use of optional suggested items will be discussed below, as will costuming tips.
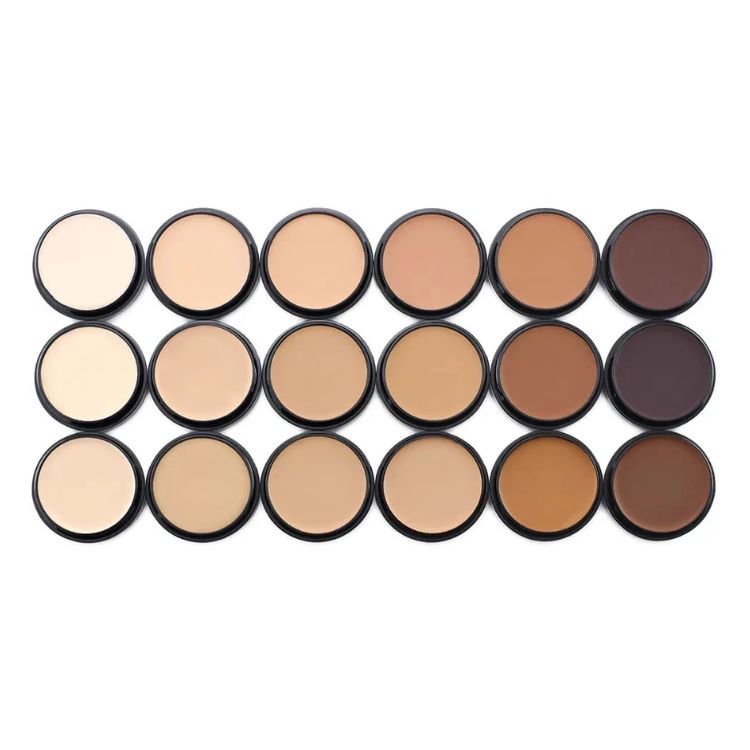
About Vampires: Vampire make-up can be achieved using a variety of base colors or foundations. In this kit, we use the Blithe Spirit Foundation, heavily applied for the male, and lightly applied for the female. You might prefer to use a white or cream color such as Graftobian’s Alabaster (sold separately) as the foundation and then accent with grays, blues and purples. Regardless of exact color choice, you can create excellent vampire effects using the application techniques listed below.
Applying the Make-Up:
Figure 1: Using a Latex Sponge Wedge, wipe across the surface of the Blithe Spirit Creme Foundation to load the sponge. Once the sponge is properly loaded, apply the foundation to the entire face, ears and neck as shown.
Coat the skin evenly but with as thin a coat as possible to get your desired opacity. This is your foundation, your bottom coat, into which you will blend and add your character lines and colors; you want to cover all skin that will be showing.
Note: If you are putting make-up on someone else, always approach the eye area gently and with warning. Never just stab away with your sponge, brush, or other implement. Have him open his eyes and look up when you are coloring the areas just below the eye, including the lower eyelid.
Figure 2: Apply your Purple Passion Creme Foundation with the Brush, sponge or fingertip to the areas you wish to shadow, or to appear more deeply inset in the face. These areas include the hollows of the forehead above the brow, the temples, the upper bridge of the nose, the sides of the nose, the nasal fold lines, the wrinkle below the bottom lip, the hollows of the cheeks below the cheek bones and finally under the chin below the jaw line all as pictured.
Note: You will want to clean your brush between colors using make-up remover, brush cleaner (not included), or soap and water.
Figure 3: Now apply the White Foundation to the areas you wish to be highlighted; these include the raised or boney parts of the face, like the upper forehead, brow and upper temple region, the lower bridge of the nose, the area between the nasal fold and your cheek hollowing, the cheekbone and the chin. Blend with fingertip or the edge/point of a sponge wedge as you go, to achieve a smooth transition of color and a more realistic look.
Figure 4: Apply the Black Foundation lightly into the shadowed areas to deepen the shadows as indicated, and apply it around the eyes below the eyebrow. Again, blend as you go.
Figure 5: Using either your Black Pencil or your Brush with Black Foundation, paint or draw in the widow’s peak, eyebrow and under eye areas. With the widow’s peak, make sure the color goes all the way into and beyond the hairline.
Figure 6: Apply your Maroon Creme Foundation to the lips with a Brush. Now, Powder down the makeup. Load Powder onto Powder Puff by sprinkling a small pile of powder onto the middle of the puff, folding the puff and rubbing the puff’s sides together until the powder is substantially loaded. Using a gentle but rapid patting motion, work powder deliberately across the face, one section at a time. Reload the puff frequently to avoid excessive “offsetting” of the make-up. When the face is fully “set” you will be able to touch the make-up without it coming off.
Figure 7: Drizzle a bit of Stage Blood from the edge of the mouth and you’re ready to get costumed and go out for a bite!
Vampira:
Figure 1: Apply the Blithe Spirit Foundation lightly so that some of the natural skin tones still show through the make-up.
Figure 2: Apply the Purple Passion Creme Foundation in the usual shadow locations but with more attention to the area above the eyes and with softer cheek emphasis than we used for the male vampire.
Figure 3: Apply the White Creme Foundation highlights as described for step 3 of the male vampire but once again, use softer application and blending.
Figure 4: Apply the Black Foundation above the eyes to deepen the eye socket area and below the eyes as indicated. Brush or draw in the eyebrows as shown. If you want this more glamourous looking Vampira, don’t use additional black to further deepen the hollows of the cheeks as we did for the vampire. Apply the Maroon Creme Make-Up to the lips with a Brush, finish any final blending and then Powder as described above.
Figure 5: Add fangs, a wig and a little night flying attitude.
Costume & Accessory Tips: The classic vampire accessories include the following: wig, medallion, cape, tuxedo or black gown, fangs & gaudy rings. If you prefer to use your own hair but it’s not exactly the right shade of black, just spray it with our black hair spray (sold separately).
Regarding Fangs: Numerous manufacturers create really nice vampire fangs that either give you complete uppers that fit nicely or that just cap your canine teeth and look almost as good as they do in the movies. Look at our selection of the finest professional quality fangs on the market. The teeth are what make a vampire a vampire, so get only the best if you want to be impressive!
Removal: Our makeup can be easily removed with make-up remover or Cold Cream Makeup Remover (not included). Once all make-up is carefully removed, gently wash with soap and water.
Disclaimer: Graftobian Theatrical sells all products in good faith for professional use, but can assume no responsibility for the deliberate misuse of cosmetics and/or other products. In other words, please read and follow all instructions carefully to avoid problems or injury!
Other Graftobian Products: Graftobian is a manufacturer of all sorts of make-up. From novelty soap-based Face Painting Make-up called Disguise Stix®, to our Graftobian® Colored & Glitter Premium Hair Sprays and Gels, to our complete line of Professional Graftobian Theatrical Make-Up and Accessories, Graftobian has it all! Ask your dealer about the other fine Graftobian products they carry in their store.
Share this article


Shop for everything you need to recreate this look
shop nowYou may also be interested in...
Achieve the Perfect Radiant Beauty Look
Want that flawless, lit-from-within glow everyone’s chasing? With Graftobian HD(...)