Old Age Makeup Instructions
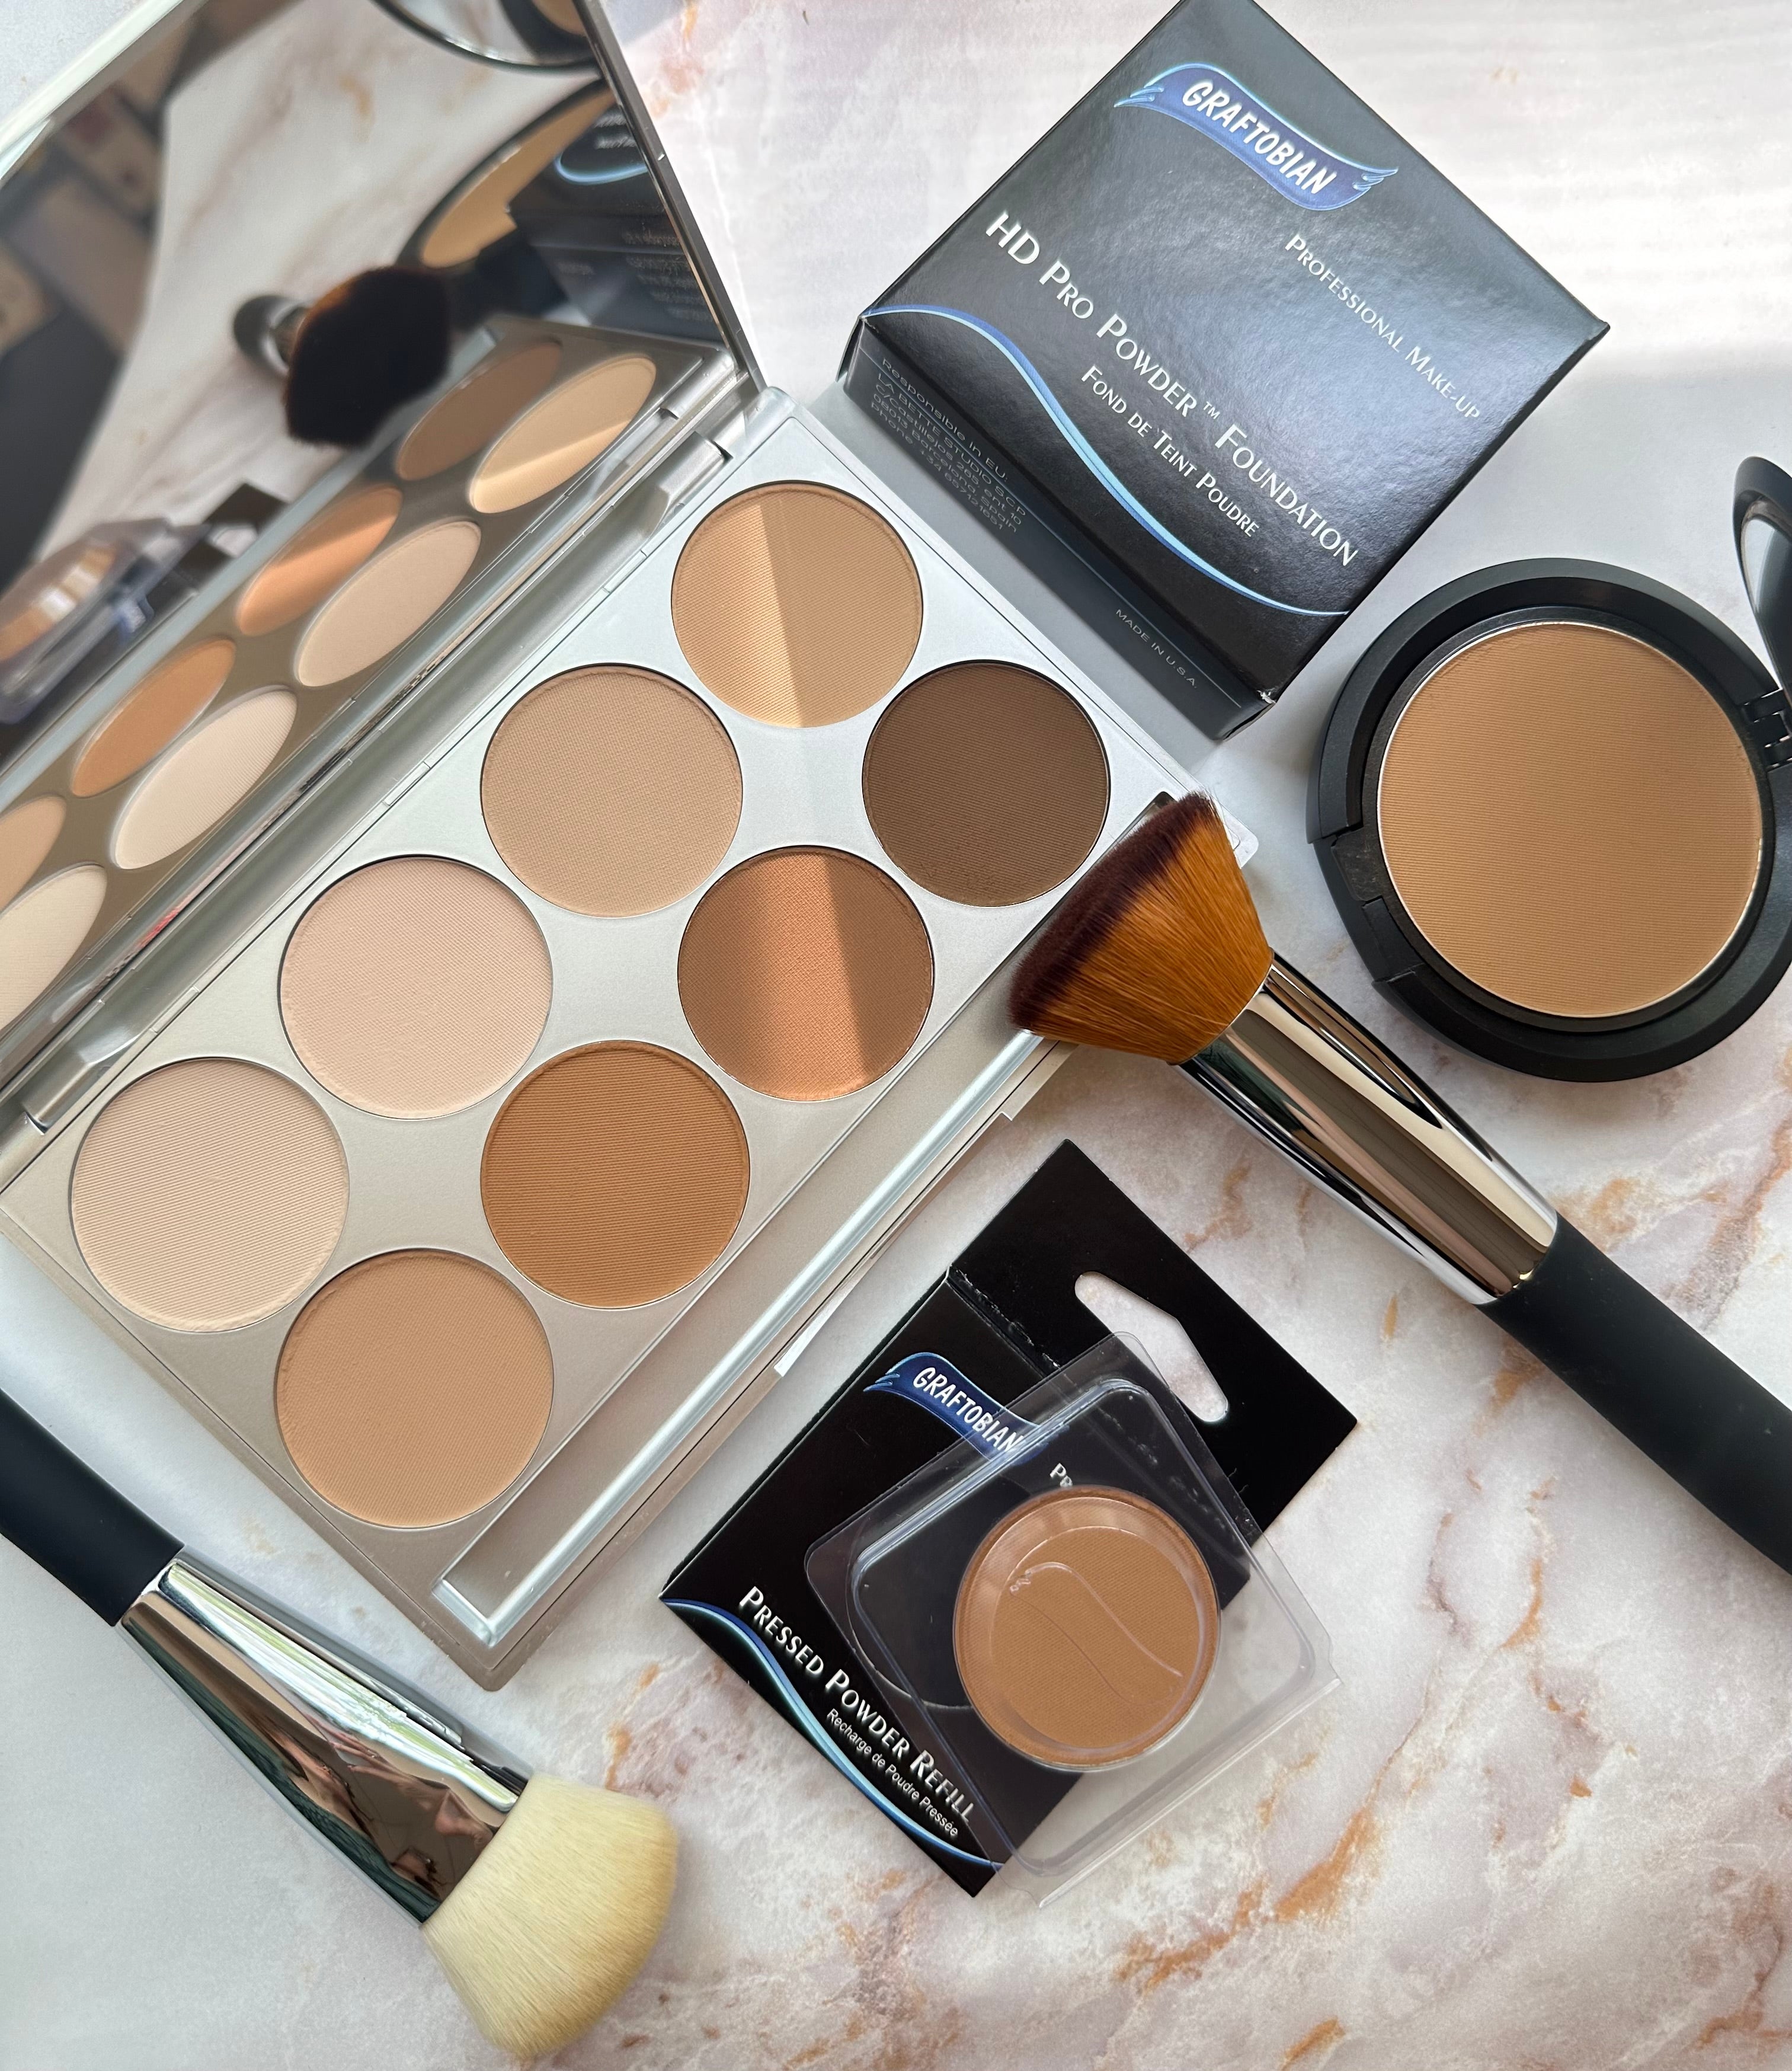
Graftobian’s Old Age Kit
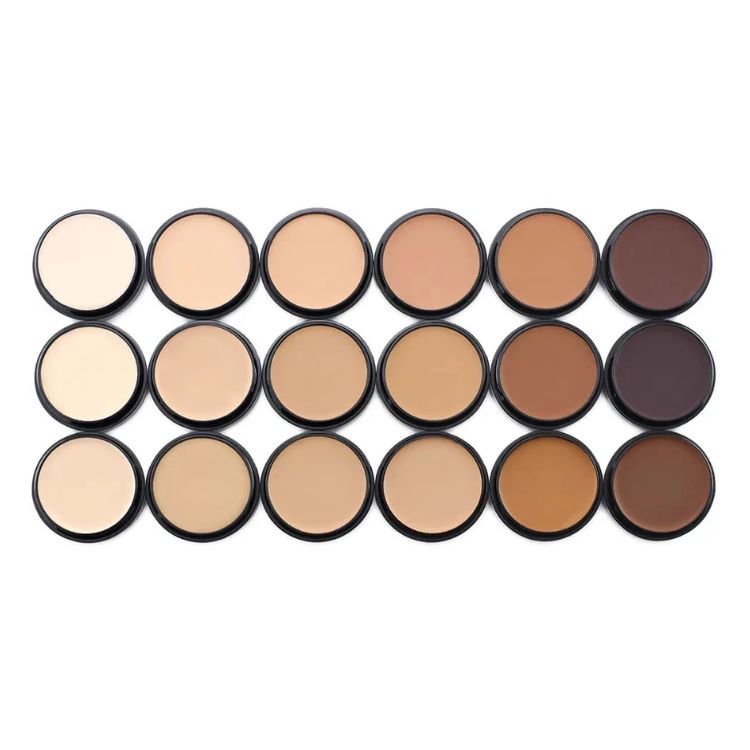
Note: These instructions are generic in that the specific shades of foundation, creme liners, pencils, and crepe wool may be different than the colors in your kit. However, the techniques mentioned with respect to these items will be the same regardless of the specific colors you are using. When creating a character, you will always have an overall foundation color, then you will have one or two shades that are darker for creating hollows, wrinkles and shadows. You will also have one or two shades that are lighter as your highlight color(s). Take a look at your kit and determine which of your colors fit those descriptions and function from that premise.
Optional: If you are using this instruction sheet in conjunction with one of our small student kits, you will need to pick up some crepe wool, spirit gum & spirit gum remover and a good pair of scissors to accomplish the beard laying portion of the instructions. Even if you have one of our deluxe kits, it’s recommended that you pick up a bit of extra crepe wool so you can have enough wool to get some practice in.
Before You Start: Your make-up should be applied in a clean, well lit area. Give yourself plenty of room, and arrange your materials neatly in front of you. If you are doing the make-up on yourself, make sure you have an amply sized, well lit mirror. Wear old clothes– making up can get messy! Make-up should always be applied to clean skin, so wash your hands and face and you are ready to begin.
Time Needed: This will require 45 -60 minutes to complete.
Please Note: If you have any known allergies to any of the listed ingredients of any of the components of this kit, do not use that component. Select a shade or item from your dealer’s stock that will give you a similar effect or serve a similar purpose but does not contain the ingredient to which you react. If any of the products contained in this kit cause discomfort, remove as instructed and discontinue use.
Old Age Make-Up:
-

Figure 1: Using a Latex Sponge Wedge, wipe across the surface of the Old Age Foundation to load the sponge. Once the sponge is properly loaded, apply the foundation to the areas of the face as shown.
Coat the skin evenly but with as thin a coat as possible to get your desired opacity. This is your foundation, your bottom coat, upon which you will build the character lines, highlights and shadowing needed to create a realistic looking face. Note that you are covering all exposed skin, which includes the ears, neck and into the hairline; you want to cover all skin that will be showing once you have finished making-up and the costuming has been added.
Note: If you are putting make-up on someone else, always approach the eye area gently and with warning. Never just stab away with your sponge, brush, or other implement. Have your subject close her eyes when coloring the upper lid and below the brows. Have her open her eyes and look up when you are coloring the areas just below the eye, including the lower eyelid. -

Figure 2: Begin your creation of the old man’s features by selecting the Plum Creme shade. As shown in this figure, we have used our Brush to apply this shadow shade to the temples, hollow of the cheeks, nasal fold, under eye bag, forehead wrinkles, neck wrinkles, chin wrinkle, etc. This creates shadows, or deep recesses.
-

Figure 3: This figure shows two steps: creating highlights and shadows. Using your Brush, apply Light Highlight to all of the high points on the face such as the cheekbones, the fleshy part of the cheek outside of the nasal fold, the middles of the forehead wrinkles, the point of the chin, the forehead above the brow, the intermediate areas between neck wrinkles and lip wrinkles and crows feet at the edge of the eye.
Then, deepen the shadows you made in Figure 1 with Deep Plum to create the crows feet, some additional lip lines and neck lines. Use the Deep Plum to deepen the eye bags and to create the bridge of the nose wrinkle set. Remember, for every shadow, there is a corresponding highlight–sometimes two. -

Figure 4: In this figure, we have softly blended each wrinkle to ease the stark nature of the drawn-on highlight and shadow lines. The more realistic and close-up you need to be, the more attention you must pay to careful blending.
Once the blending is complete, load Powder onto Powder Puff by sprinkling a small pile of powder onto the middle of the puff, folding the puff and rubbing the puff’s sides together until the powder is substantially loaded into the velour of the puff. Using a gentle but rapid patting motion, work the powder deliberately across the face, one section at a time. Reload the puff frequently to avoid excessive “offsetting” of the make-up onto your puff. When the face is fully “set” you will be able to touch the make-up without it coming off. -

Figure 5: Using your Stipple Sponge, load the Maroon Creme onto the sponge lightly and then stipple broken capillary effects on the nose, at the upper cheeks, and a few across the forehead and elsewhere if desired.
Using your Brush and perhaps a fingertip, dot a few age spots across the forehead and down the cheeks using Plum Lining Shade. Finally, use your Medium Brown Pencil to intensify any wrinkles you feel need to be more prominent. Apply Powder to the new effects. -

Figure 6: Dip the Hair Whitening Stick in water and apply directly off the stick into the hair. Before the hair dries, comb to desired form. Repeat the same process for the eyebrows. You may also wish to use a toothbrush or an eyebrow brush to brush in this coloring opposite the natural direction of the eyebrow hair’s growth. This yields a gnarled, old age look for the eyebrows.
-

Figure 7: Add costuming and you’re ready for the stage.
-

Old Lady Make-Up
-

The process is substantially the same.
-

The structure of the face will be different.
-
The severity used on some of the wrinkles will be different, too.
-

In the final figure, we have added a bit of lipstick to get Granny ready to hit the town. We also used a wig in place of the hair whitener.
Costume & Accessory Tips: Old age make-up and costuming are commonplace among theatrical productions worldwide. The costuming truly varies dependent upon what sort of old character is being portrayed; glasses, wig, hat, shawl, pipe, handbag, cigar, suspenders, slippers, newspaper, magnifying glass and a very wide variety of clothing.
Share this article


Shop for everything you need to recreate this look
shop nowYou may also be interested in...
Achieve the Perfect Radiant Beauty Look
Want that flawless, lit-from-within glow everyone’s chasing? With Graftobian HD(...)