Bald Cap Kit Instructions

Graftobian’s Bald Cap Kit Instructions
Graftobian offers bald caps in latex rubber or professional plastic styles. These caps can be used for baldness, clowning, masquerade uses (such as skulls) as well as special effects and monster makeup.
Note: If you have purchased the bald cap separately, you will want to verify that you have the necessary supplies listed on the front of this instruction sheet under “Complete Kit Contains.” Use of optional suggested items will be discussed below.
Household Tools Required & Optional:
Sharp Pair of Scissors-Required
Steam Iron & Ironing Board-Optional (for the hair application)
Hair Dryer-Optional
Before You Start: Your makeup should be applied in a clean, well lit area. Give yourself plenty of room, and arrange your materials neatly in front of you. If you are doing the makeup on yourself, make sure you have an amply sized, well lit mirror. Wear old clothes: making up can get messy! Makeup should always be applied to clean skin, so wash your hands and face and you are ready to begin. Make sure to read through all instructions thoroughly before you begin.
Please Note: If you have any known allergies to any of the listed ingredients of any of the components of this kit, do not use that component. Select a shade or item from your dealer’s stock that will give you a similar effect or serve a similar purpose but does not contain the ingredient to which you react.
Time Needed: 1 hour. Application of additional hair, etc., will require more time.
-
Applying the Bald Cap:
Figure 1: What a good looking young man! Wonder what he’ll look like in 40 years?
-

Figure 2: Short hair works best when wearing a bald cap. Comb the hair as flat as possible away from the forehead. If water isn’t enough, use a little styling gel. Sideburns should be short. For very long hair, pull back and bind in a low ponytail that will exit the bottom of the back of the cap. It can be hidden or tucked into your costume or shirt.
-

Figure 3: Position the untrimmed cap evenly on the head. If the thin edge lies cleanly across the middle of the forehead, it may not need further trimming. If it must be trimmed, first lightly mark it with a makeup pencil. Draw a light line on the cap across the forehead in line with the natural forehead wrinkle.
Note: If your bald cap has creasing or wrinkling due to its time in a package, use a hair dryer to soften the cap and relax the crease. -
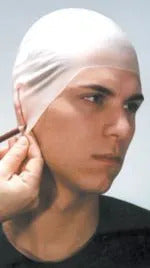
Figure 4: Slowly, with a small sharp pair of scissors, trim the front of the cap. As noted above, it will look more realistic if the front edge follows a natural forehead wrinkle. However, try not to trim away too much of the thin front edge of the cap. Next, mark a line from just below the top of the ear and continue it downward toward the earlobe. These slits must be carefully cut to check the position and fit of the cap before further trimming.
-

Figure 5: Trim the cap along the marked lines and around the ears. If necessary, trim a little at the sides and back of the neck. Be sure to leave enough cap material to attach it securely to the skin. The cap edge should always be at least one half inch away from the hairline.
-

Figure 6: Carefully roll the front edge of the cap upward. Apply Spirit Gum to the skin where the edge of the bald cap will attach (approximately 1/2 – 3/4 inch strip). When the gum is tacky, carefully roll the cap edge back down into position and press with a damp, lint free towel. Allow the adhesive to dry thoroughly. Any loose edges should now be sealed down with additional Spirit Gum.
-

Figure 7: When gluing the back and sides of the neck, tilt the head slightly upward. This will help to minimize wrinkles in your cap. Don’t stretch the cap too much while gluing because it may loosen.
For Plastic Caps Only: The edge of the cap can be carefully melted into the skin by lightly brushing acetone over the edge until it starts to dissolve. This must be done very slowly, applying a little at a time. -

Figure 8: Using a sponge, stipple two or three layers of Liquid Latex over all the edges to minimize the seam line. For a textured surface, use a Red Rubber Sponge. For a smoother surface, use a White Sponge Wedge. Allow all layers to dry thoroughly.
For Plastic Caps Only: Stipple three or four layers of Liquid Latex over the entire cap and force-dry it with a hair dryer on a low setting. The “skin” can be peeled away after use, allowing for easier reuse of the cap. -

Figure 9: Powder all freshly dried latex with Pro Setting Powder and puff. If the areas aren’t powdered, they will stick together permanently. Gently brush away any excess powder with a large, soft brush.
-

Figure 10: For best results, use Rubber Mask Grease on the bald cap. This product is specially formulated for total compatibility with all latex rubber bald caps and prosthetics, and will not dry out during application (which typically occurs with regular foundations).
Using the appropriate character colors or finding a skin tone match by blending colors, apply the Rubber Mask Grease with a White Sponge Wedge using a stippling motion over the entire bald cap and nearby skin. -

Figure 11: The bald cap is applied and fully made up. Ideally, use Rubber Mask Grease on the bald cap and creme foundations on the skin. Highlights and shading colors were very lightly added in this photo. Then everything was powdered down with Pro Setting Powder in Translucent.
-
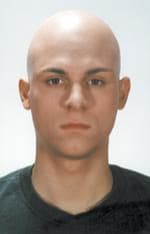
Figure 12: Voila!
Applying Hair
Preparing Crepe Wool: Do this in advance of applying makeup. Braided or pre-straightened crepe wool is required to create the fringe and the comb-over as shown in Figures A through D. If using braided crepe wool, grasp the ends of the braid and pull gently so as to unravel the thin twine which holds the braid together. Remove all twine so that only the kinked wool remains.
In order to straighten this hair, you have three options.
1.Gently tease the fibers by pulling them, picking them, and pulling them some more and repeating the process section by section until the braid is straight. Fibers should be no longer than 9 inches for this process. Gently pull the fibers loose lengthwise and lay them on top of one another and pulling gently again is the way to achieve the best results.
2.Submerge the entire length of twine free wool in water for 30 seconds. Lay it out on a towel and blot away excess moisture. Allow it to air dry or use a hair dryer.
Using a steam iron on the “serious steam” setting, weigh down one end of the braid and pull the braid reasonably taught while you press the steam iron along the fibers until straightened. Take note that you may have to do a certain amount of untwisting of the crepe wool bundle as you iron it due to its often twisted nature. This option is by the fastest and probably the best way to fully straighten crepe wool, but it can also be the most hazardous–proceed with caution while using a hot iron.
Additional Crepe Wool Application directions are fully covered in the Werewolf Instructions. -

Figure A: Attach a piece of curly hair using Liquid Latex or Spirit Gum.
-

Figure B: In similar fashion, the comb over is attached using hair that is mostly straightened.
-

Figure C: A crepe wool mustache can be created (as described in the Beard Laying Instructions) or a pre-made mustache can be attached using Spirit Gum.
-

Figure D: Our young man is now a completely new and much older character!
Removal: Any crepe wool attached to the skin should be removed with Spirit Gum Remover. Gently pull off as much of the hair as you can, then moisten a cotton ball or a make-up brush with the remover. Use this same technique to loosen the edges of the bald cap. Remember: If you used Spirit Gum to adhere your Latex Bald Cap, you should use Spirit Gum Remover for cleanup. If you used Pro Adhesive to attach a Plastic Bald Cap, you must use our Pro Adhesive Remover for safe and efficient removal. Work the cotton or brush under the edge of the cap to soak the gummed areas with the Remover. Once the gum or adhesive is dissolved, the cap will easily separate from the skin and the residual glue can be gently wiped away. Important: Don’t just pull the cap off the skin! You can cause a serious irritation if you hurry through the removal process. The remaining Rubber Mask Grease and creme make-up is easily removed with make-up remover or Cold Cream Makeup Remover (not included). Once all make-up is carefully removed, gently wash with soap and water.
Share this article


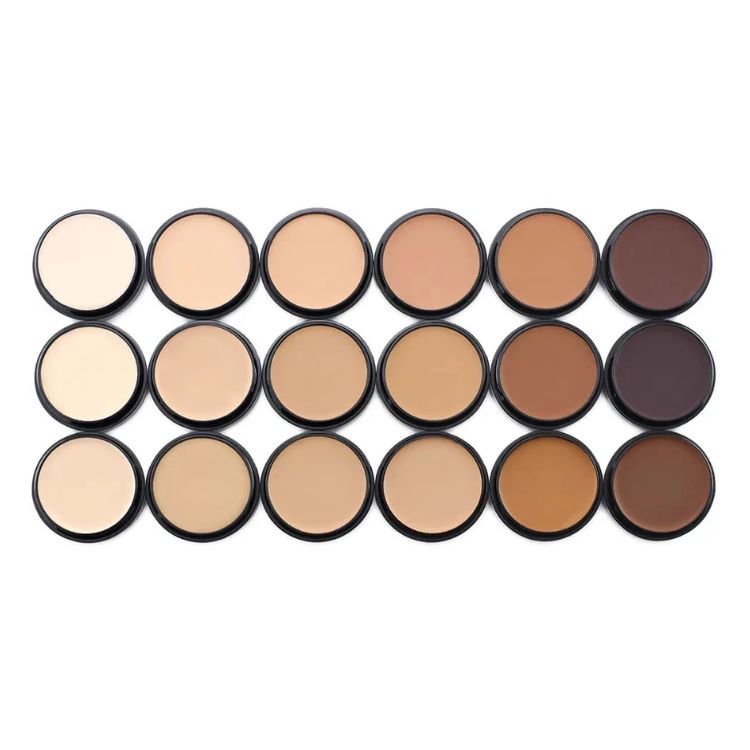
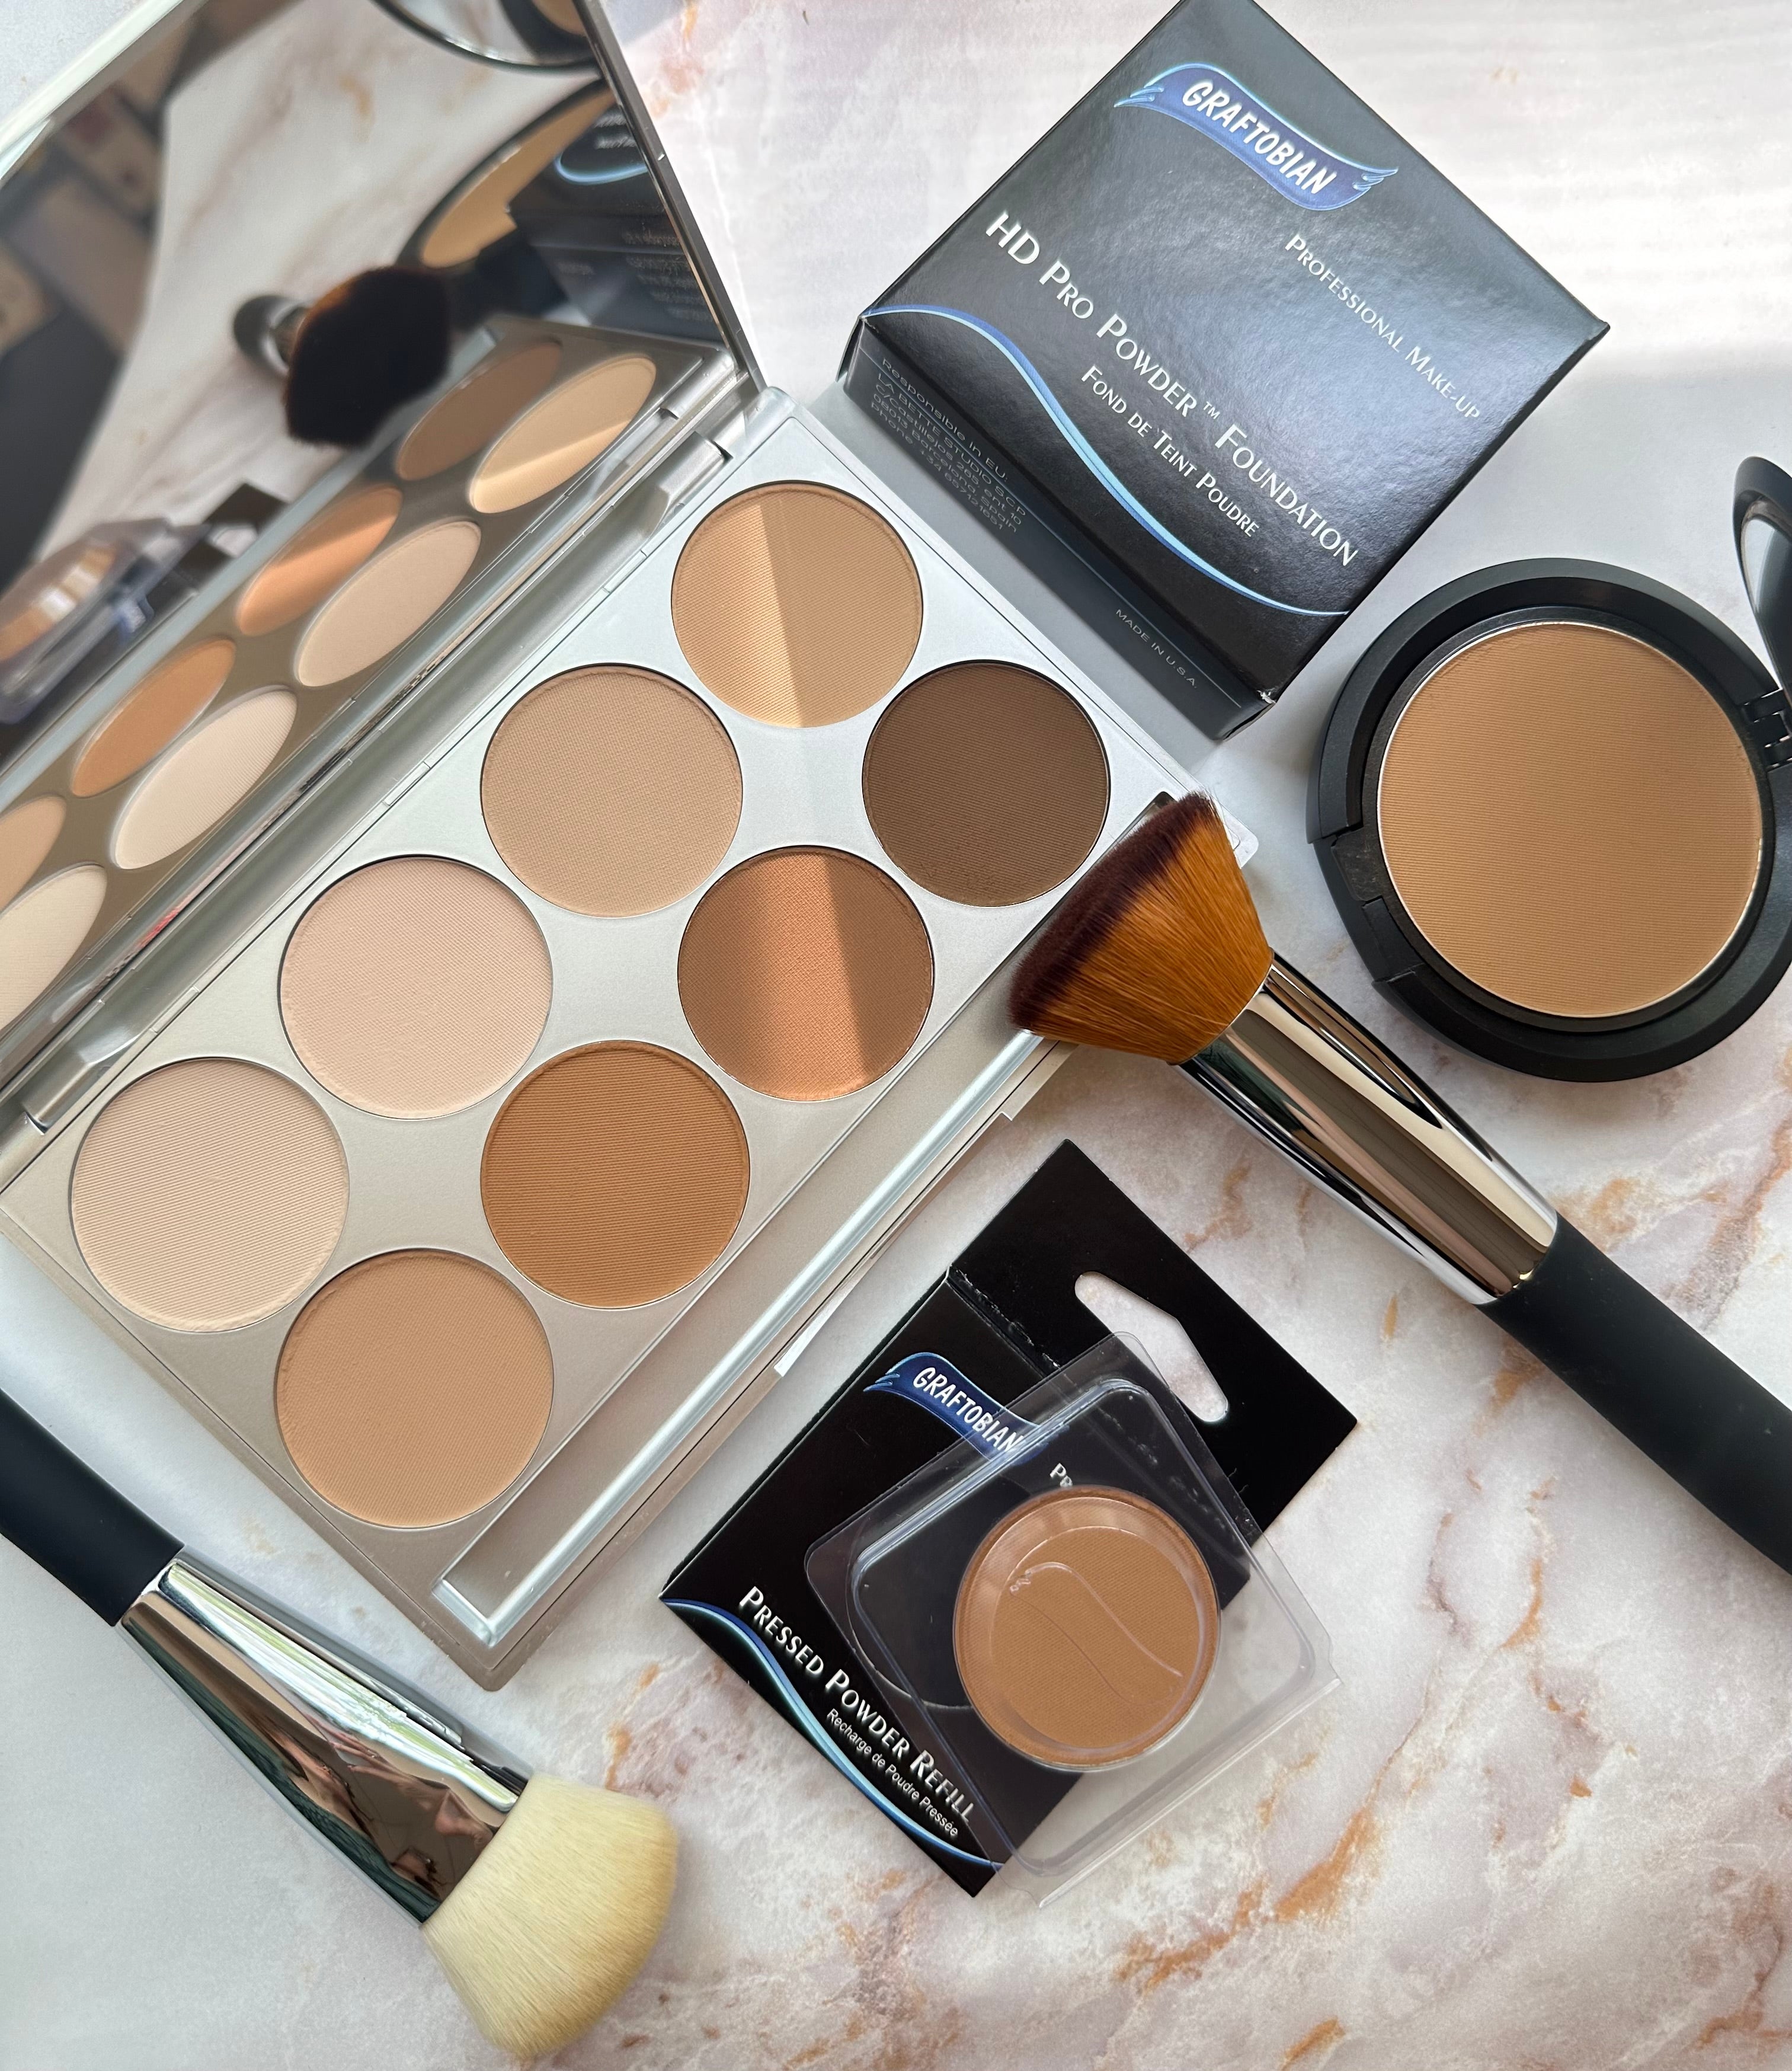
Shop This Page
Shop for everything you need to recreate this look
shop nowYou may also be interested in...
Achieve the Perfect Radiant Beauty Look
Want that flawless, lit-from-within glow everyone’s chasing? With Graftobian HD(...)